Maker
Skip the setup and get your smart home or sensor project running in minutes. Easily program your needed features in Lua.
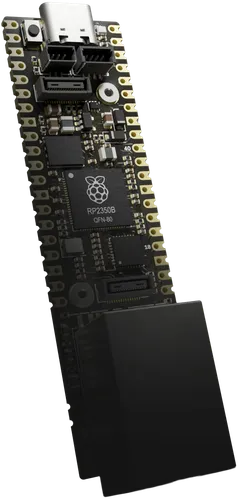
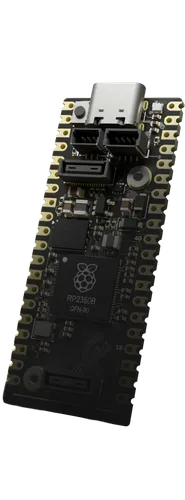
Yes, with Pluto
Plug in. Build anywhere.
Leave your email and we’ll let you know when Pluto launches. We’ll also share important updates along the way.
Pick the one that looks like your work. It is the same board in all three — what changes is what you ask of it.
Skip the setup and get your smart home or sensor project running in minutes. Easily program your needed features in Lua.
Nothing to install means no waiting for IT and hassle with school computer administration. Just plug it in via USB and start the lesson.
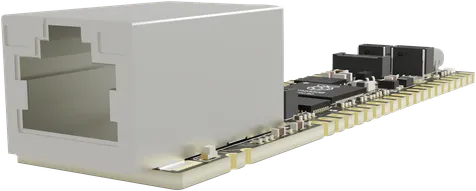
Wired Ethernet on Pluto E, an open source stack you can audit, and scripts versioned on the device via git. Built to be adaptive.
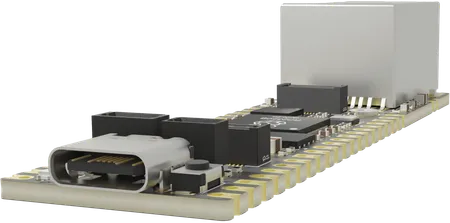
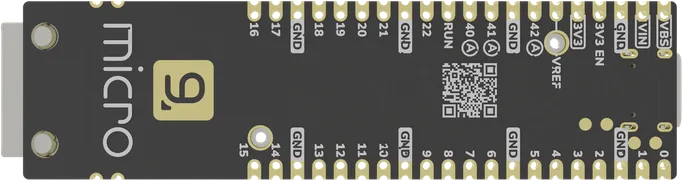
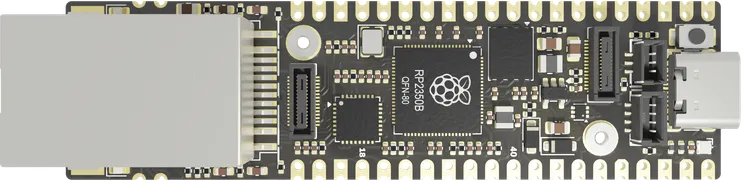
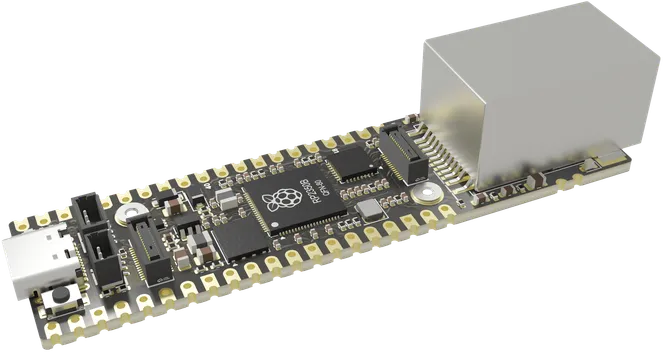
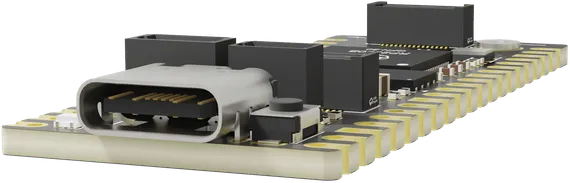
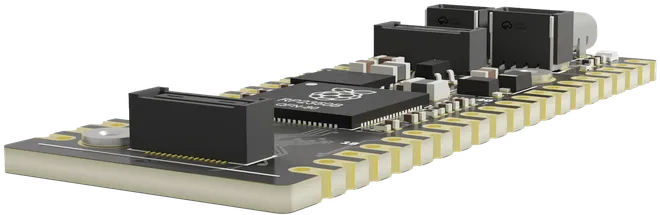
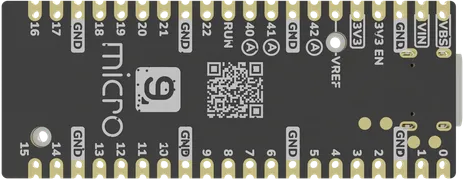
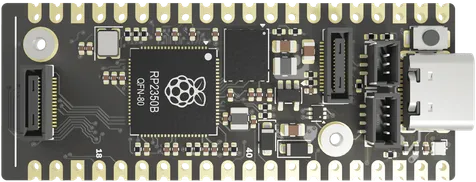
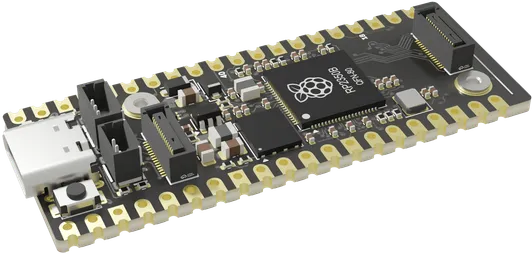
USB-C end
Fitting this much onto a board this small took a lot of rearranging. Every part here earns its place. Tap one to see what it does.
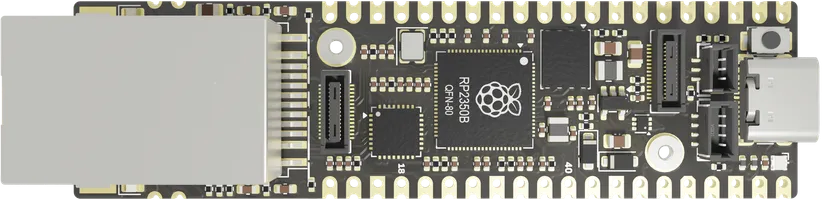
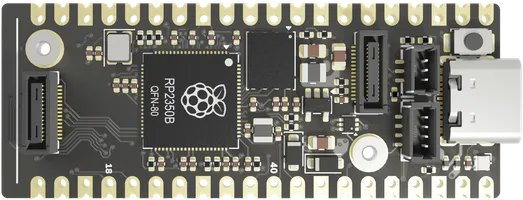
The brain: a modern dual-core microcontroller with 520 KB of on-chip RAM. It runs the Lua VM, the Web IDE and your programs at the same time.
There is no fourth step. Everything between opening the box and running your own code is right here.
Connect Pluto to your computer or your network. That’s the whole setup.
The web interface runs on the board itself. No installation, no admin rights, no internet connection.
Snap blocks together or write Lua. Your program runs on the board instantly.
Write Lua in the built-in Web IDE, with every sensor and add-on ready to call. Prefer to snap blocks together? Switch to Blockly and never touch a line of syntax.
Try it yourself: the code checks if the temperature is too high. Change the temperature values and watch the LED change color. Easy, right?
PROJECT
main.luasensors.luaconfig.luaEXPANSIONS
Climate boardRGB LED boardauto-detected-- Glow red when it gets too warm local climate = expansion.find("climate") local led = expansion.find("rgb_led") while true do local t = climate:temperature() if t > then led:set("red") else led:set("green") end sleep(1000) end
Note: the UI shown here is a mock-up and a work in progress. It may not reflect the final product.
Everything you write stays on the board — and so does every version of it.
Lua projects are managed by git on the device. Commit a working state straight from the Web IDE, look back through your history, and roll back when an experiment goes wrong. Your project’s history stays with your hardware, not on some laptop.
The hardware abstraction layer and the scheduler are open source. Read how every pin and peripheral is driven, fix what bothers you, add support for your own hardware, or build something entirely new on top.
Stack on the functionality you need to get more out of it.
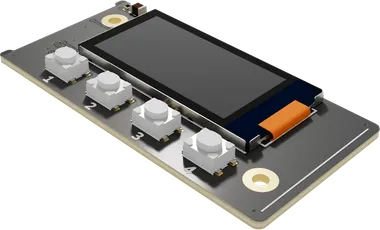
Show readings, messages and simple graphics right on your project.
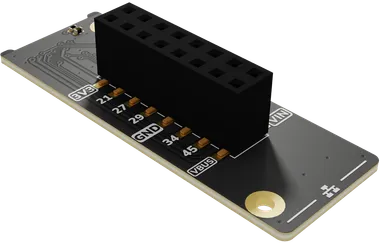
Brings every pin out to easy-to-reach headers for prototyping.
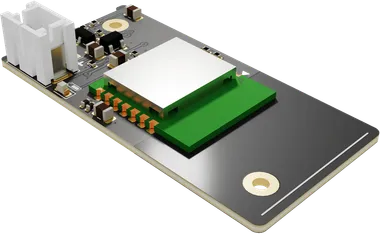
Adds wireless networking when a cable isn’t an option.
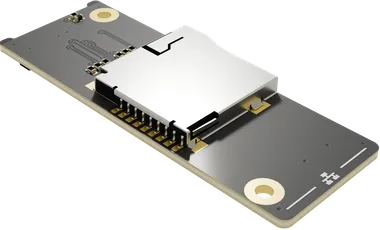
Extra storage for logs, data and files, straight on the board.
A board that carries its own IDE, its own git and its own add-on detection. Leave your email and we’ll tell you the moment it ships.
No. The programming environment runs on the board itself. Plug Pluto in, open the web interface in your browser and start building.
No. The Web IDE, Blockly and the Lua VM all run locally on the board, so Pluto works completely offline.
Only one thing: Pluto E has a 100 Mbit Ethernet port, Pluto S doesn’t. Everything else is the same.
For full control the device ships an Lua VM with built-in Web IDE. For simpler purposes and educational purposes, a simple visual Blockly editor is also included. Of course you can also flash your own firmware on the device.
Pluto add-ons are recognized automatically when you plug them in. You can also connect QWIIC sensors and modules with a single cable.
The hardware itself, the dashboard and interface are closes source. The hardware abstraction layer (HAL) and scheduler meanwhile will be fully open source.
We do not have a date yet, but we’ll announce one soon. Leave your email above and you’ll be the first to know.